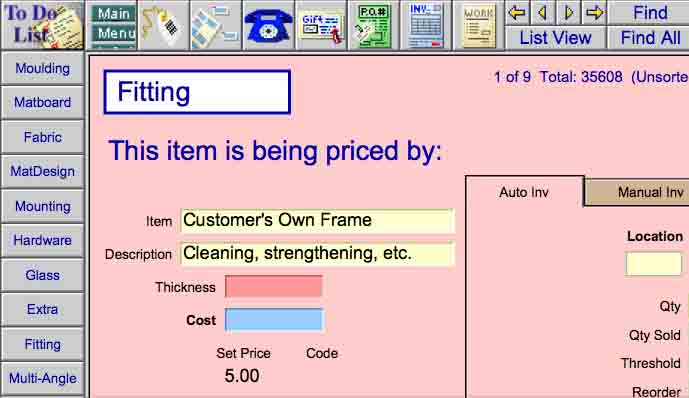
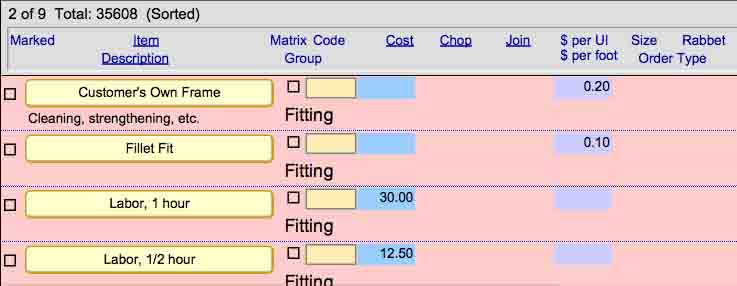
One of the first steps in setting up your program is to make sure you have the drop-down lists in the Work Order file set up to meet your shop’s needs. The framing components appear in the Work Order screen but the data is entered/changed in the Price Codes file.
For the groups: Mat Design, Mounting, Hardware, Glass, Extra and Fitting you will need to view the items which came as defaults and delete any of them you do not use, change the name of an unnecessary item to one which you require and add more items in each category if necessary. If you forget one, you can always add it at any time.

Access: Price Codes file > Mat Design (side bar button) > List View (top center)
All items which are currently listed in the group will appear on the screen in the order in which they were entered.

- To identify an item you want to delete, click on the Marked box to the left of the item name. Then click on the Delete Record(red) button at the top of the screen.
- To change the name of an item, click on the name of the item. This will take you to the Form View of that one item. Click in the Item field where the name appears and write over or delete the name and enter what you want it to be. Then click the List Viewbutton (top centre) to go back to the list.
- To add new items you can either duplicate the record or create a new one with the buttons in the top right corner. (New button or Duplicate Record button.)
When you have finished customizing items, click on the Delete Marked Records button if you have identified items to be deleted.
The items to be deleted will be listed. Check that only those items which you have marked are in the list before you continue by clicking the Delete All button. (If other people have marked items, they will appear in your list as well so you may need to Cancel if this is the case.)
You will need to click on Form View after the items are deleted. Then continue with the next group: Mounting, etc. until all groups have been edited.
TIP: To see how your finished list will appear in the Work Order Screen, click on the group, (E.g. Mat Design, then click on List View, then click on Item. The list will be sorted.) The list is sorted alphabetically, so you may want to group items together Eg. Vgroove – single; Vgroove – double, etc. Or, place number before the item to have them appear at the top of the list. Eg. 01 – Vgroove, 02 – Painted Panel, etc.
An example of how customizing the Fitting drop-down list would be adding a ‘Increase Rabbet Depth’ item. If a frame job exceeds the rabbet depth of the chosen moulding then choosing this item from your Fitting list on the work order would add a specified amount per UI to the frame job. This means you are not losing money on having to build up the back of the frame to accommodate the components.
Download this printable version of this article, in PDF form. Customizing Lists in the Price Codes File