How to add a new mounting option to your Price Codes file.
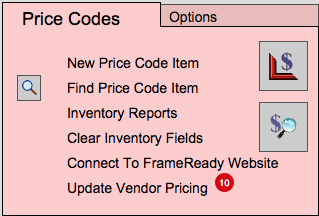
Access: Main Menu > New Price Code Item (or Price Codes file > New Price Code Item)
The following appears:
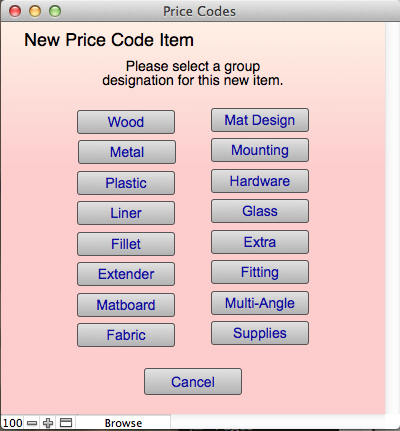
All items in the Price Codes file must belong to a group. This determines how the item will be priced and under which list it will fall in the Work Order file.
- Click Mounting.
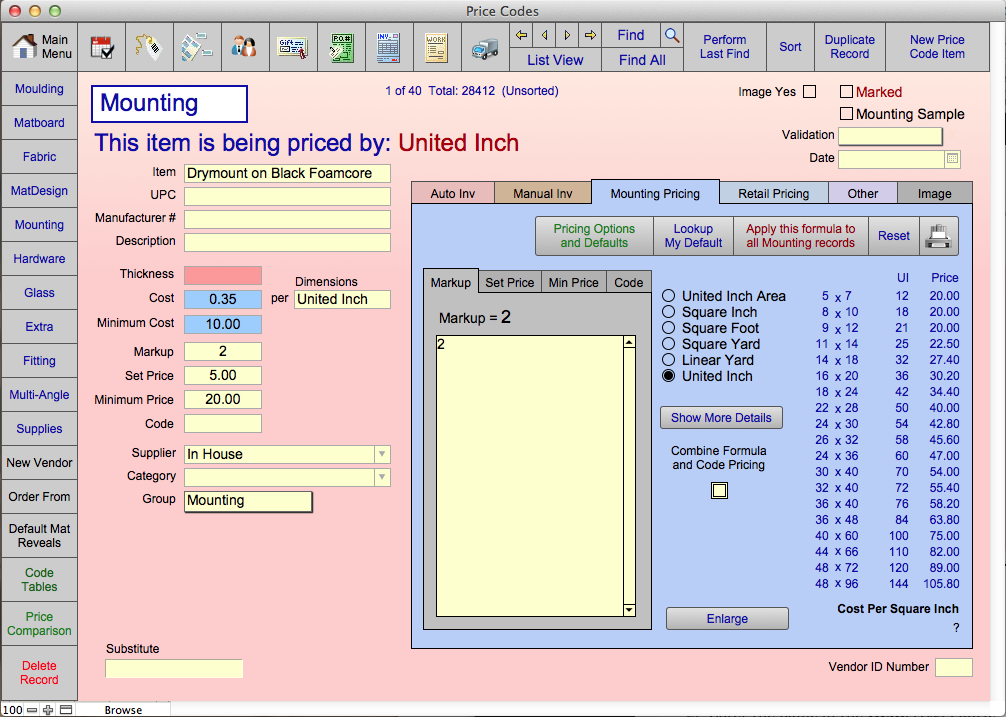
- Enter the name of the Item. (E.g. Drymount on Black Foamcore, Fabric- glue method, etc).
Items in this group appear alphabetically in the drop-down list on the Work Order screen. Take note of the items you wish to list and how you want them to appear. If ‘drymount’ appears first in the Item field, then all the dry mount items will be grouped together. If ‘Hinging’ is listed first, then it will be listed with the other items starting with the letter H. For Fabric mounting you may want to list them together with the prefix F- heat press, F- spray, F- roll-on and taping, etc. - Enter the thickness of the mounting.
It is added to the calculated depth of the project and used to determine if it exceeds the Rabbet Depth of the Frame. - In the Cost field, enter the the wholesale cost you have paid for one sheet of mount board.
This is used in your formula to determine the retail price. - The Manufacturer #.
This is the manufacturer’s number which is used when the item is reordered. The Manufacturer’s Number will appear on the Purchase Order.
Remember: It is the Item # that appears in the drop-down list on the Work Order screen not Manufacturer #. - Enter the Supplier or manufacturer.
Tip: If there is no supplier or you are unsure, then select In House from the drop-down list. - Click on the Pricing tab.
- Click on Lookup My Default to see if you have a default formula which may be applied to this item.