Setting Up Basics
Setting up your Logo
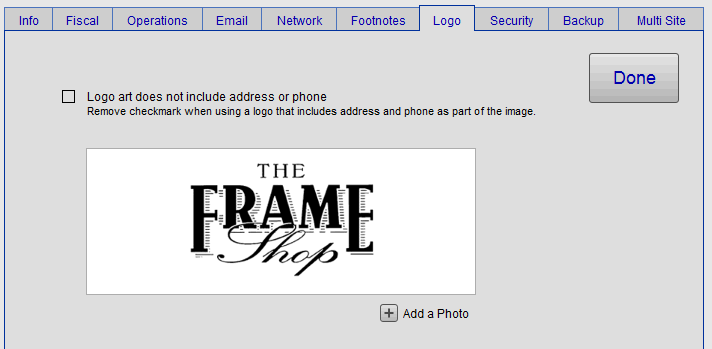
Use this section to add your company logo to FrameReady.
Logo Tab Explained

When added, your logo appears on:
Invoices
Letters
Envelopes
Statements
Work Order Summaries
Gift Certificates
(any document handed to a customer)
The logo is re-sized automatically to fit all documents.
How to Prepare a Logo
Your address and phone numbers should be included in the image.
Crop out any white space around the image as this will affect the size of the logo on printed documents.
Save your logo in TIFF or JPEG format.
Note: The logo does not appear on "in house" documents, i.e. those which contain information not intended for customers (Sales Reports, Work Orders, Incomplete Lists, Accounts Receivables, etc.)
Adding Your Logo File
Click the Insert Picture button.
A dialog box appears.Select your file. Make sure there is no X in the Store only a reference to the file checkbox.
If your logo art contains your address and phone number then uncheck the Remove checkmark box.
Click Done, when finished, to return to the Main Menu.