Mailchimp
Use the following steps to import your Mailchimp Lists into FrameReady.
Before You Begin...
How to Open the Mailchimp Integration
-
On the Main Menu, click the Setup Data button (top right).

-
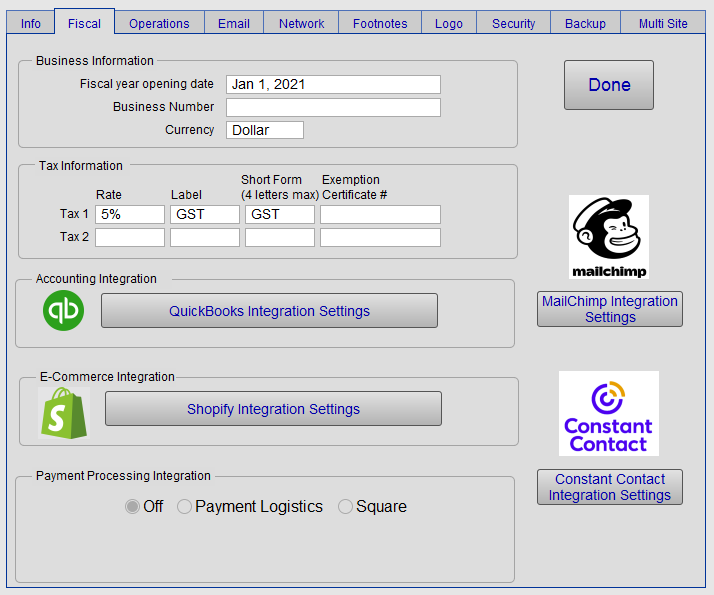
Open the Integrations tab.
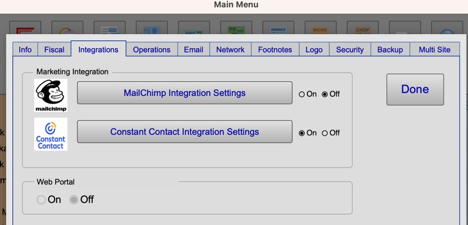
In FrameReady 13.1.3 or earlier, open the Fiscal tab.
-
Click the Mailchimp Integration Settings button. Do not close FrameReady.
How to Import your Mailchimp Lists into FrameReady
-
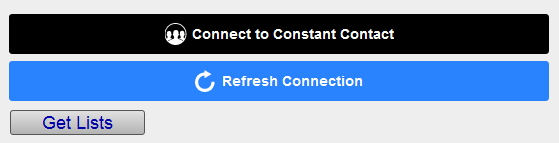
To import your Lists from Mailchimp, click the Get Lists button (below the set up fields). This will authorize Mailchimp to pull your Lists into the portal below.
-
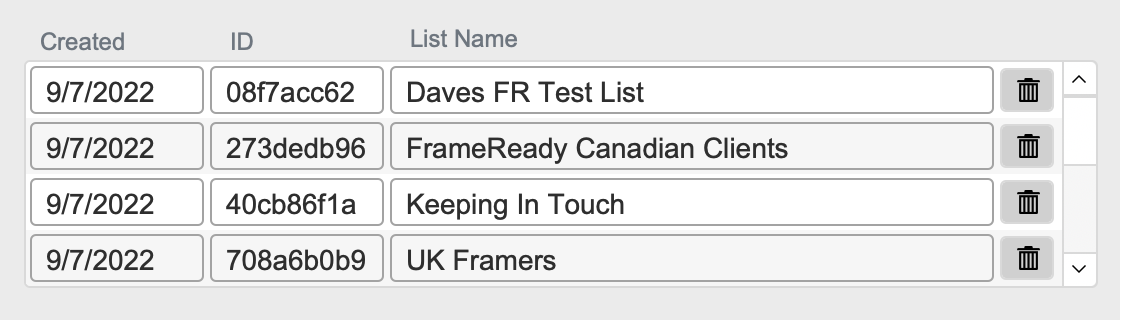
The Lists portal displays the Created date that the list was imported into FrameReady, the internal Mailchimp ID and the List name.
Use the trashcan icon (right of each record) to delete the List from FrameReady; doing so will prevent FrameReady users from assigning Contacts to that particular List.
-
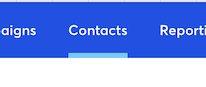
You can verify that your Mailchimp Lists match what you have in your Mailchimp by logging in the web browser and going to the ‘Contacts’ tab in the top navigation. This will take you to the ‘Lists’ tab and show you all of the lists that are in your Mailchimp. You can verify that these lists match the lists that were imported into the FrameReady integrations file.
-
If you edit your List information inside of Mailchimp and you need to update your list information in FrameReady, then click the Get Lists button again. FrameReady clears the old data and re-imports your lists fresh from Mailchimp.
Once you are satisfied with the audiences/lists that you have in the portal available for your users you can start assigning your contacts with the integration.
See: Mailchimp Assign to a List
© 2023 Adatasol, Inc.