Square Integration Set Up
Follow these steps to set up your FrameReady Square Integration.
Connect your Square Account to FrameReady
The first step in setting up your Square integration is to connect your Square account to FrameReady.
-
On the Main Menu, click the Setup Data icon (top right).
-
Open the Fiscal tab.
-
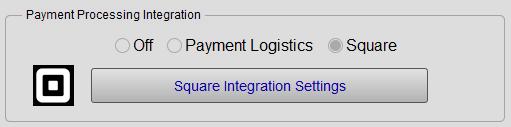
In the Payment Processing Integration section, select Square.
-
Click the Square Integration Settings button.
-
A new window opens for the Square Integration Settings.
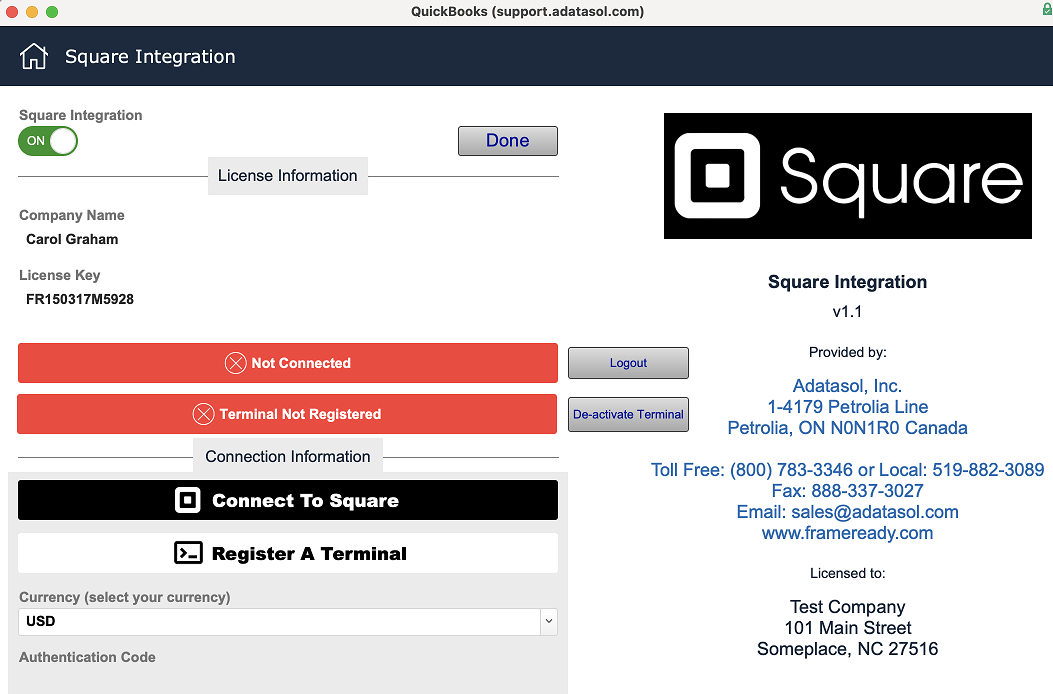
Note that your Square integration has the status of ‘Not Connected’ as well as ‘Terminal Not Registered.’ We will step through both of the processes to connect your Square account as well as Register your Terminal. -
Click the black Connect to Square button.
-
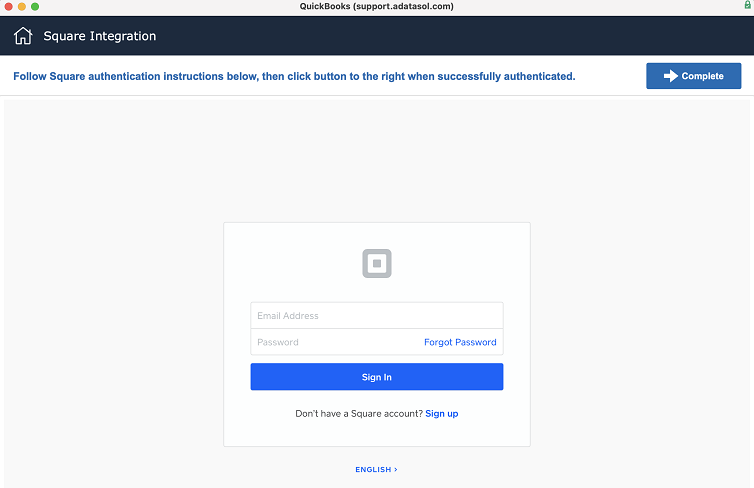
In the window that appears, enter your Square email address and password. Click the blue Sign In button to connect your account.
-
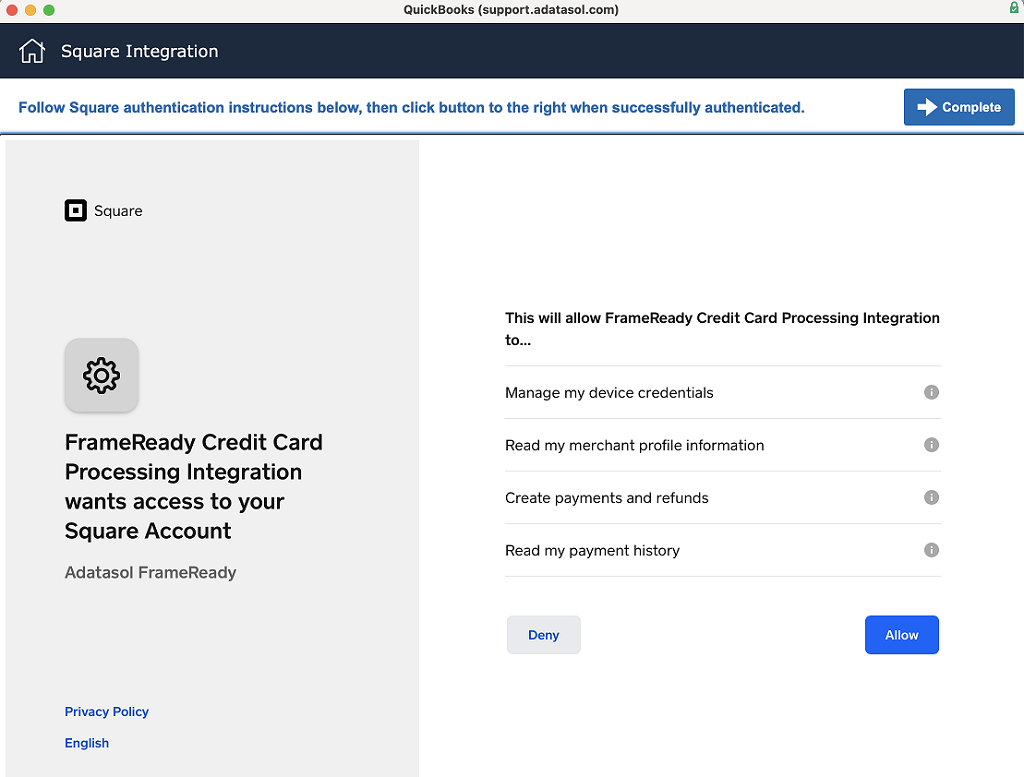
After you enter your email address and password for your Square account, a window asks you to authorize FrameReady to use your Square account. Click the blue Allow button to connect the account.
-
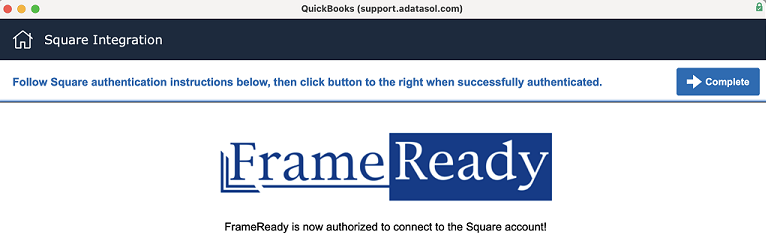
You are re-directed to a screen that reads ‘FrameReady is now authorized to connect to the Square account.’
-
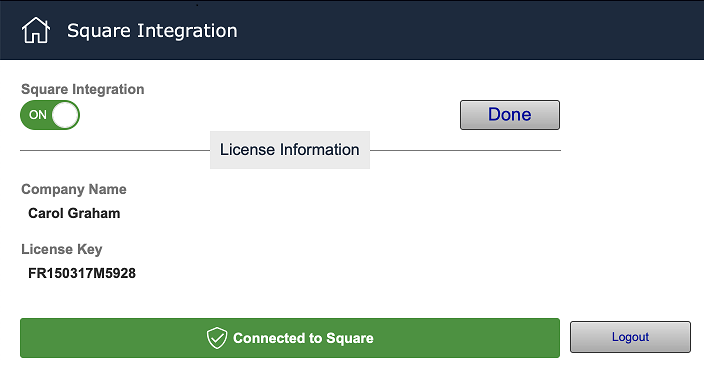
Once you have made it to this screen, click the Complete button (top right) to finish the connection process. When this process completes, it will re-direct you back to the Square integration Home Screen where you will now see the status of ‘Connected to Square’ in green. This means that the program is successfully connected to your Square account!
-
After you have connected your Square account to FrameReady, you will need to register your terminal that you have purchased from Square.
Register Your Terminal
-
The first step to registering your terminal is to click the white Register A Terminal button (below the Connect to Square button). Make sure your terminal is powered on and connected to a Wifi network before continuing.

-
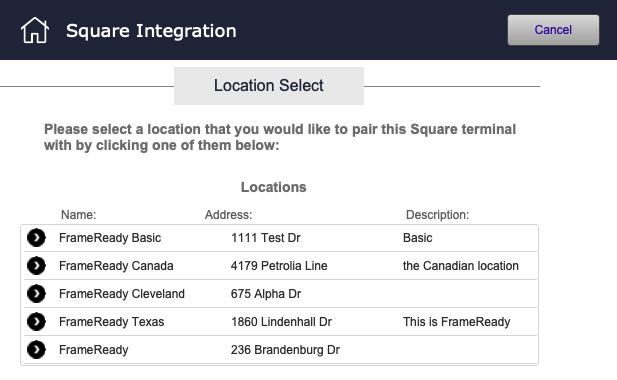
Once you have clicked the button, you will be prompted with a list of locations for your Square account. If you have multiple locations, then you will see all of your locations on this menu.
Select the location that you would like to pair this terminal with.
-
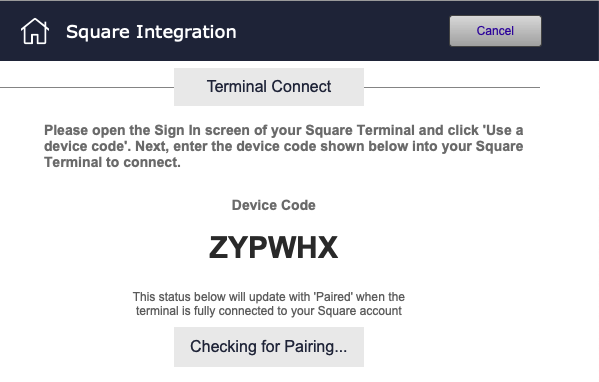
After you have selected the location that you would like to pair the device with, you will be prompted with a ‘Device Code’ on the FrameReady screen. This ‘Device Code’ should be entered in on your terminal in order to connect the software with the terminal.
-
To enter the device code into the terminal, you need to make sure you are on the ‘Sign into Square’ screen of the terminal. You will see the fields to enter your email address and password. You need to skip those fields and go immediately below that to the ‘Use a Device Code’ option.
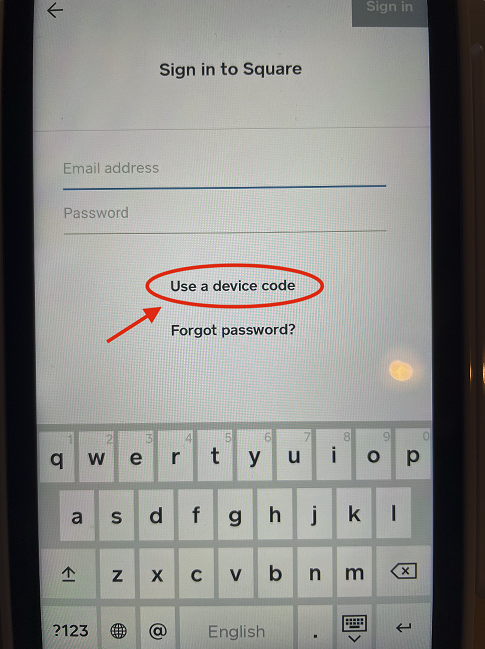
-
Once you press the ‘Use a Device Code’ option, another screen will load on the terminal that will ask you to key in the Device code provided. This is when you key in the Device code on the pop up in FrameReady into the terminal. After you have keyed in the Device Code, submit and the terminal should show a brief loading status. When the terminal is completely finished pairing, the screen will be black with the Square logo in the center. You will also receive a prompt message in FrameReady letting you know that the terminal has been paired.

-
After the terminal has been paired successfully, hit the button to continue and it will redirect you back to the Square settings homepage. You should see under the green ‘Connected to Square’, a green ‘Terminal Registered’ icon. This lets you know that the terminal is successfully paired with the software and ready to use.
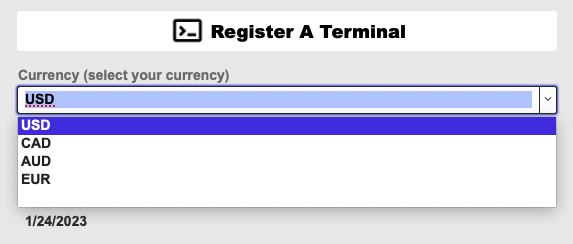
Select Your Currency
-
Based on your Country of business, select the appropriate currency for your Square account. For example: If your business is in United States, please select the currency of USD. If you business is in Canada, please select the currency of CAD.
© 2023 Adatasol, Inc.