Shopify Integration
Work with Shopify Customers
Connect FrameReady to your Shopify account and import customers from Shopify.
How to Work with Shopify Customers
-
On the Main Menu, click the Setup Data button (top right).

-
Open the Fiscal tab.
-
Click the Shopify Integration Settings button.

-
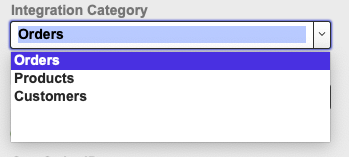
Click in the Integration Category field and choose "Customers".
-
When you choose "Customers" in the Integration Category field, the Pull All Customers button becomes visible.

The Pull All Customers button imports all of your current Shopify customers so that you can review them in the Integrations temporary table and then only push (or import) the necessary records into FrameReady's Contacts file. -
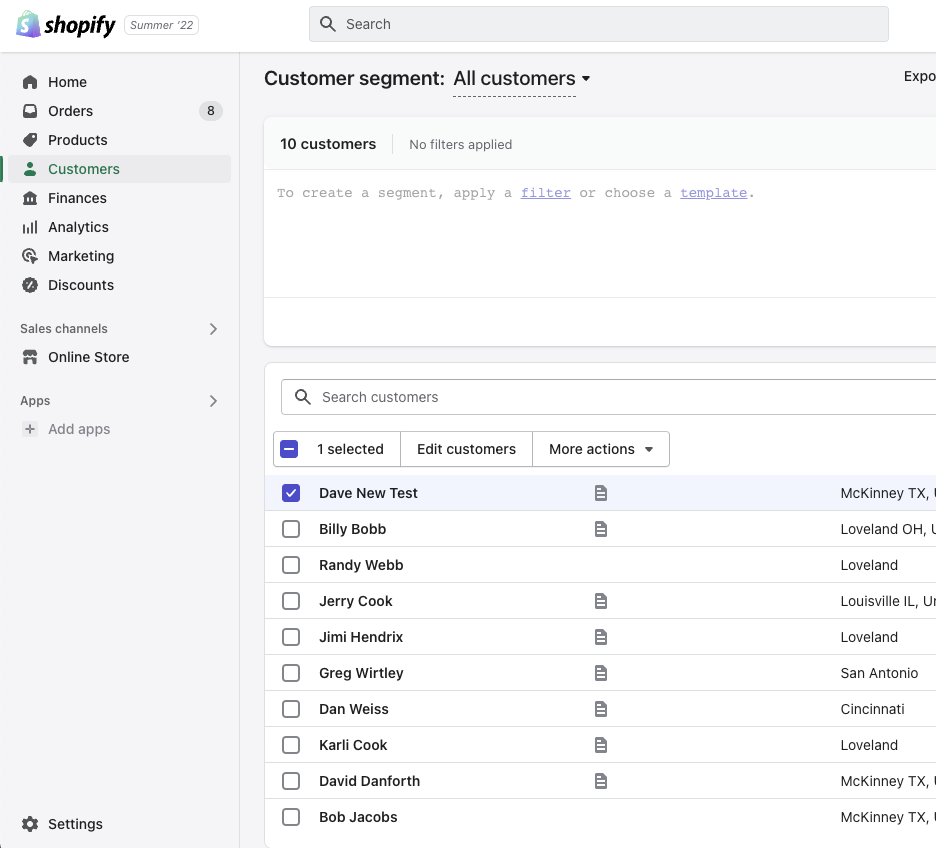
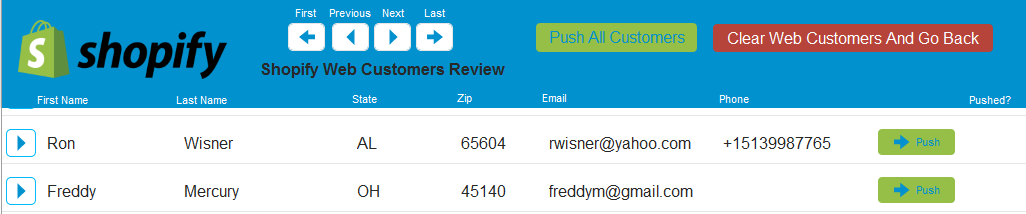
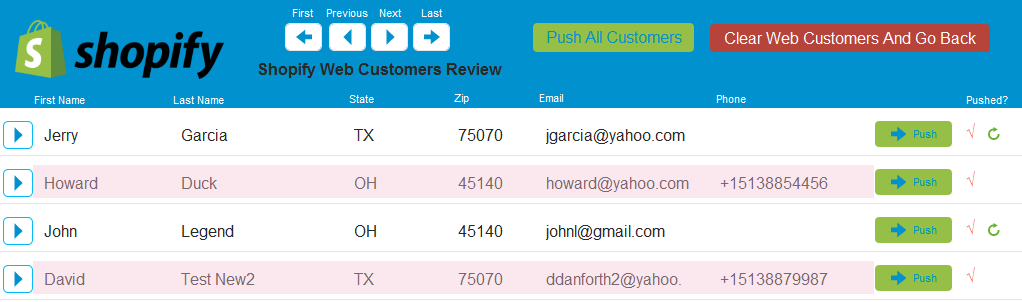
In the example here, you can see a list of all of the customers in the Shopify store.
Note that we have highlighted one specific customer (in the image below) and that it has not yet been pushed into FrameReady.
-
Click the Pull All Customers button.
-
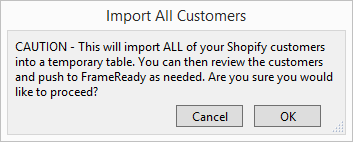
A prompt appears asking you to cancel or continue by clicking OK.
-
When you click OK, FrameReady imports all of your Shopify customers into the temporary table in the FrameReady integrations file.
When the import has completed, a prompt appears reminding you to review the records. Click OK to continue.
-
In the Integrations window, each Shopify customer record is shown with its own individual, green Push button.
The Push All Customers button can be found above (top right).
-
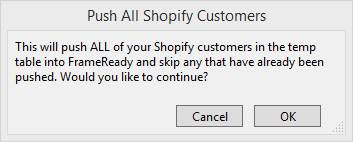
Click the Push All Customers button. Click cancel or OK to continue.
-
The Push All Customers button functions the same way as the Push All buttons for Orders and Products: it loops through every Shopify customer record in the list and displays a red checkmark as they are accounted for.
Customer records which match an existing Name and ZIP code in the Contacts file are marked with a green arrow circle -- they are not imported into FrameReady and are marked as ‘skipped’ to prevent duplicates.
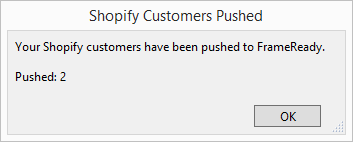
When the process finishes, a prompt tells you how many customers were successfully pushed and how many were skipped.
The customer records that have been imported into the Contacts file are highlighted in pink.
-
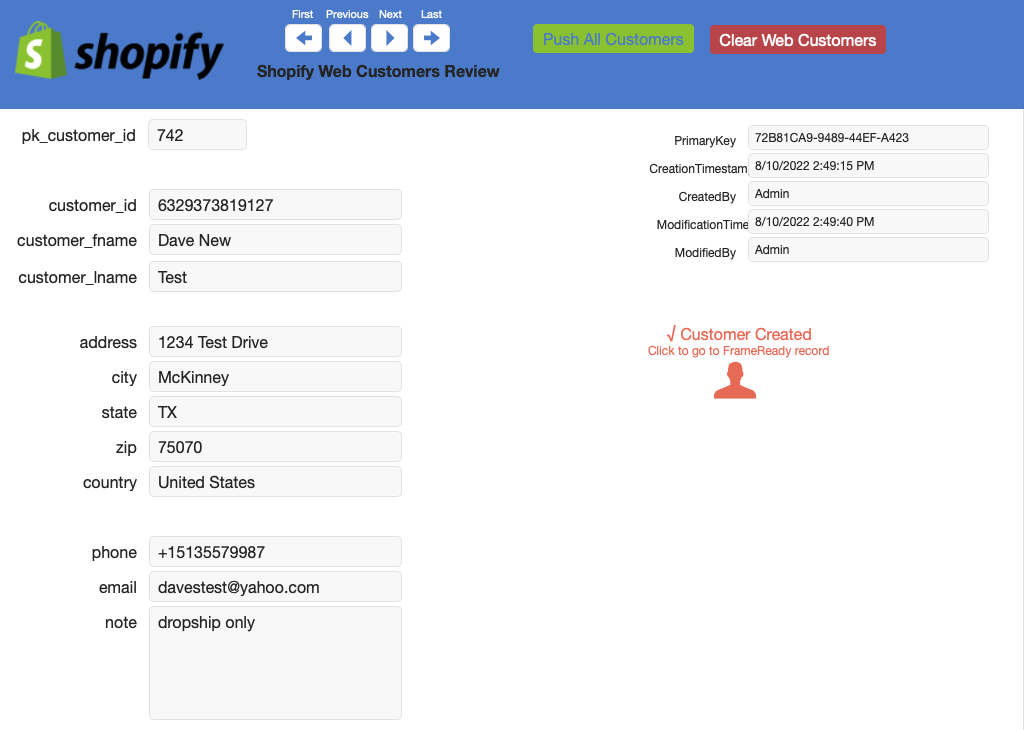
Click the blue arrow (left of the First Name column) to view details of the customer's record.
-
If the customer has already been pushed into your FrameReady, a Customer Created button is visible. Click to open the Contact record in FrameReady.
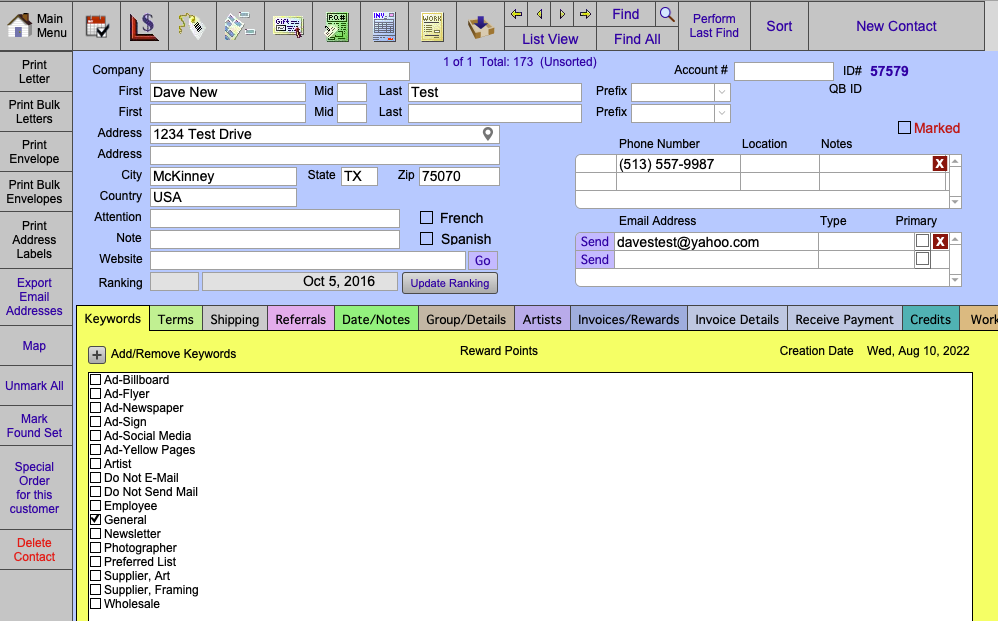
The newly imported Contact record:
-
You can exit, back to the original Shopify Integration screen, by clicking the Clear Web Customers button (top right).
A prompt appears asking you to cancel or continue by clicking Delete All. Click Delete All to clear all of the records from the temporary table and to return back to the main Shopify Integration Settings page.
© 2023 Adatasol, Inc.