Print Envelopes
Print envelopes for customers from within FrameReady's Contact file.
How to Print a Single Envelope
-
As with the printing of letters, there are two methods for printing envelopes.
-
They will be discussed as Option 1 and Option 2. To print an envelope do the following:
Option 1: How to Print a Single Envelope
-
On the Main Menu, in the Contacts section, click the Print Envelope button.
-
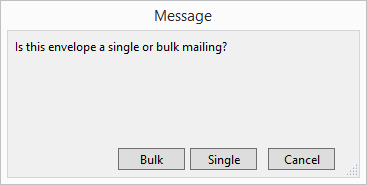
A dialog box appears.
-
Click Single.
-
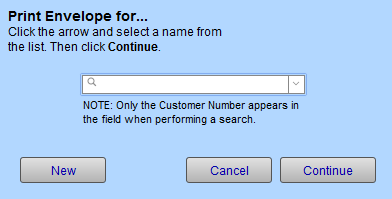
A second dialog box appears.
-
Click on the name of the person or company to whom you wish to address the envelope.
-
Click the Continue button.
-
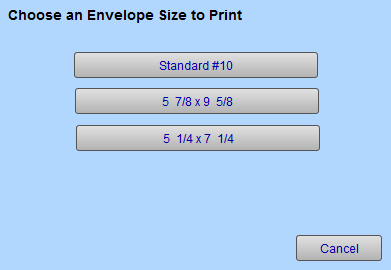
A third dialog box appears.
-
Choose an envelope size button.
Note: If the screen displays an incorrect format required for printing envelopes, then choose File > Print Setup (Windows) or File > Page Setup (Mac) and make the necessary adjustment (if Print or Page Setup cannot be selected, then choose File > Exit (Windows) or FileMaker > Quit (Mac) and reopen FrameReady with your highest level password).
-
Click the Continue button.
A print dialog box appears. -
Click Print (Mac) or OK (Windows).
The screen returns to the Main Menu.
Option 2: How to Print a Single Envelope
-
Perform a find for one customer.
-
Click on the Print Envelope sidebar button.
-
A dialog box appears.
-
Choose an envelope size button.
Note: If the screen displays an incorrect format required for printing envelopes, then choose File > Print Setup(Windows) or File > Page Setup (Mac) and make the necessary adjustment (if Print or Page Setup cannot be selected, then choose File > Exit (Windows) or FileMaker > Quit (Mac) and reopen FrameReady with your highest level password).
-
Click the Continue button.
A print dialog box appears.
How to Print a Bulk Mailing
This feature is designed for use with laser or ink jet printers using a #10 envelope in the landscape mode.
The instructions are the same as the previous steps for printing address labels except that you will need to go to the form view, after the list is displayed, to access the Print Bulk Envelopes side bar button.
Although only one envelope is displayed on the screen, all envelopes will be printed.
Option 1: How to Print a Bulk Mailing
-
On the Main Menu, in the Contacts section, click the Print Envelope button.
-
A dialog box appears.
-
Click Bulk.
-
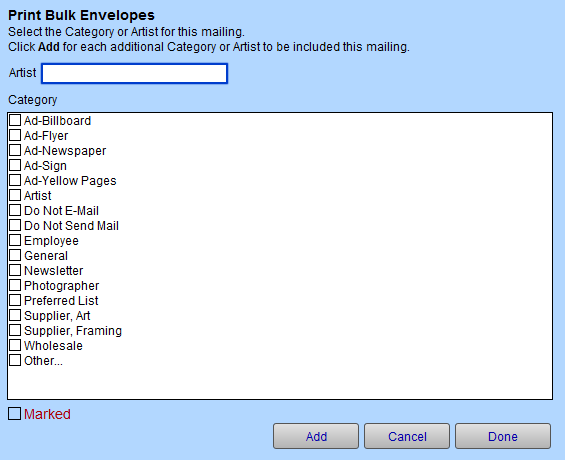
The Print Bulk Envelopes dialog appears.
-
Click the category you wish to include in your mailing, e.g. customers with keyword "newsletter" marked and then click Add.
-
The Choose an Envelope Size to Print dialog appears.
-
Choose an envelope size button.
-
The Sort Records dialog box appears.

-
Click the Sort button to sort your records by the criteria listed in the right panel.
-
The Print Setup dialog box appears. Click OK to print or Cancel.
Note: If the screen displays an incorrect format required for printing envelopes, then choose File > Print Setup (Windows) or File > Page Setup (Mac) and make the necessary adjustment (if Print or Page Setup cannot be selected, then choose File > Exit (Windows) or FileMaker > Quit (Mac) and reopen FrameReady with your highest level password).
-
A print preview of the document appears.
-
Click the Continue button.
The print dialog box appears. -
Click Print (Mac) or OK (Windows) or Cancel.
Option 2: How to Print a Bulk Mailing
-
On the Main Menu, in the Contacts section, click the Find Contact button.
-
In Enter Search Criteria, enter the data to locate the group of customers for which you wish to print envelopes. (E.g. Spent over a certain dollar amount, made a purchase in the last 6 months, etc.).
-
Click the Perform Find button.
The search results appear. -
Click the Print Bulk Envelopes button located (left side bar when in form view).
The Sort Records dialog box appears. -
In the Sort Records dialog box, you may select your sort order and Click Sort. If you do not want the names sorted, click Cancel. See also: How to Sort
A print preview appears. Although only one envelope is displayed on the screen, all envelopes will be printed. -
Click Continue > Print (Mac) or OK (Windows).
Your envelopes print onto the chosen envelope size and the screen returns to the list view of your clients. If you wish, you can identify the mailing that has been sent in the Date/Notes tab on each customer’s record.
© 2023 Adatasol, Inc.