Frame Detail Screen
Tip: The tabs at the top of each Work Order Detail Screen allow you to move through the Work Order in different ways.
Frame Detail Screen Explained
-
It is important to understand how you’ll be able to review the details for the frames in a Work Order.
-
It is also within this screen that you will be able to list the stacked mouldings that you will use for a Work Order.

-
The details for each moulding selected for a Work Order are listed here. These are similar details that can be found within the Price Code File. Review the Online Help pages regarding the Price Codes to get more details about pricing and moulding details.
-
The most important feature within this screen that we will discuss is the Layered Frames.
-
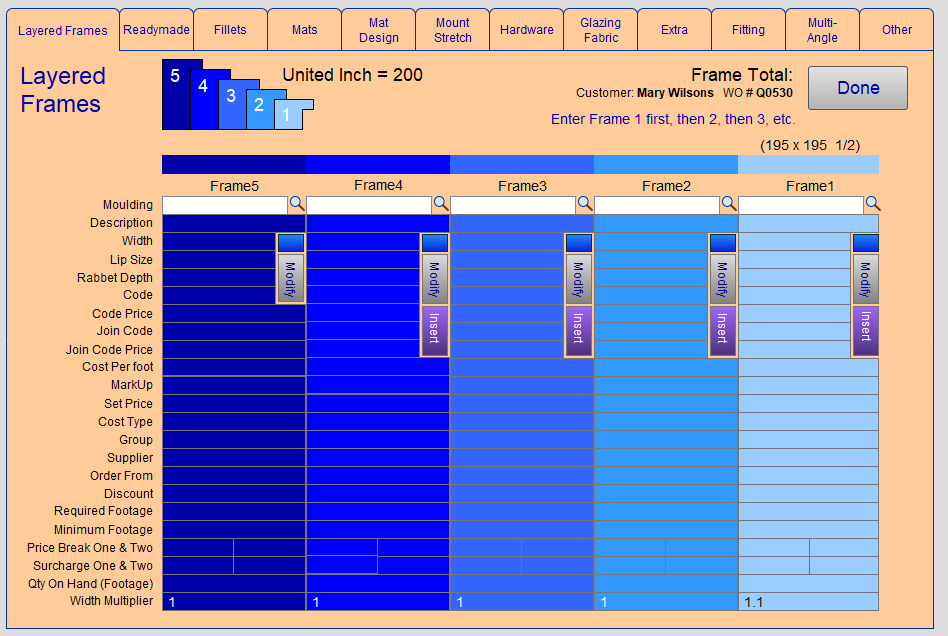
If you click on this button on the Work Order Screen or select View All next to this icon on the Frame1 menu, it will bring up the Layered Frame Details.
-
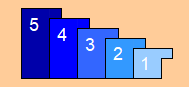
Use this menu to to price up to five frame layers. Entering in the frames in a layered frame order begins with the innermost frame or filet. Frame1 will be the closest to the artwork.
Note: Frame1 is always the closest to the artwork. Fillets and extenders do not increase the size of the frame layered on top of them. This allows for a proper fit within the rabbet of the next frame.
-
The details under each moulding can also been seen on their Frame detail page. Select the Frame number on the layered Frames image at the top to go to the Frame Detail menu for any other Frames you’re adding to the order. (For example, you’ll see the Frame2 menu by clicking on 2 on the stacked frame image.)

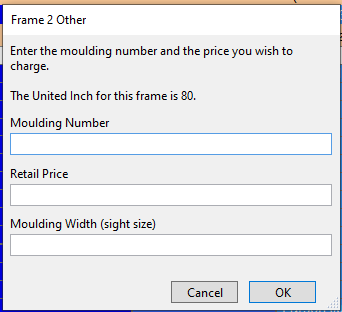
When entering in new layered moulding, you’ll see these options:
1) Retail Price
-
Displays the current pricing for the moulding based on the formula and sizing noted in the Work Order.
2) Item Number
-
Enter the item number for the moulding you wish to use in this field. You can also use the magnifying glass to the right to search for the moulding if you do not have the exact ID number.
3) Blue Override Button
-
Used when adding in a new moulding that is not currently in your Price Codes file.
4) Modify Button
-
Brings up a new window used to edit the moulding details in the Price Codes file.
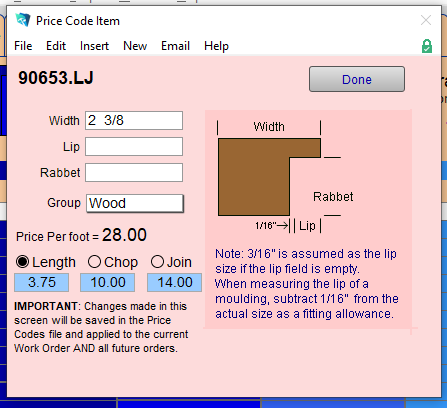
CAUTION: Changes made here are saved in the Price Codes file. This will then apply those changes to the current Work Order and all future Work Orders.
5) Insert Button
-
Moves the current moulding out by one. This will allow you to place a new moulding in its place.
© 2023 Adatasol, Inc.