Constant Contact
Use these steps to open the Constant Contact Integration and set up.
How to Set up the Constant Contact Integration
-
On the Main Menu, click the Setup Data button (top right).

-
Open the Integrations tab.
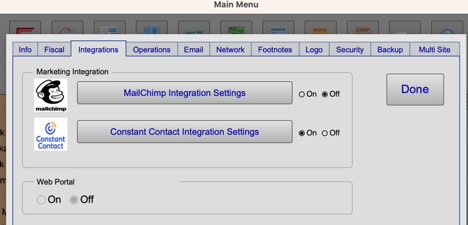
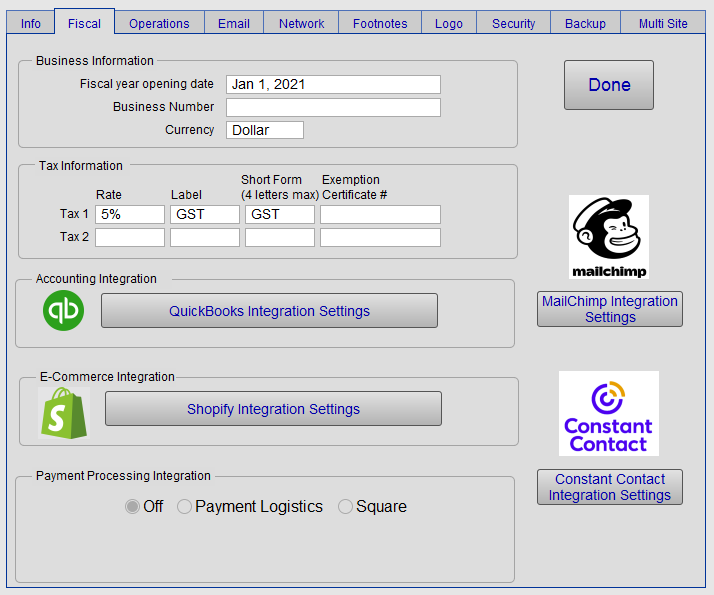
In FrameReady 13.1.3 or earlier, open the Fiscal tab.
-
Click the Constant Contact Integration Settings button. Do not close FrameReady.
The Constant Contact Integration opens.
How to Set up the Constant Contact Integration
-
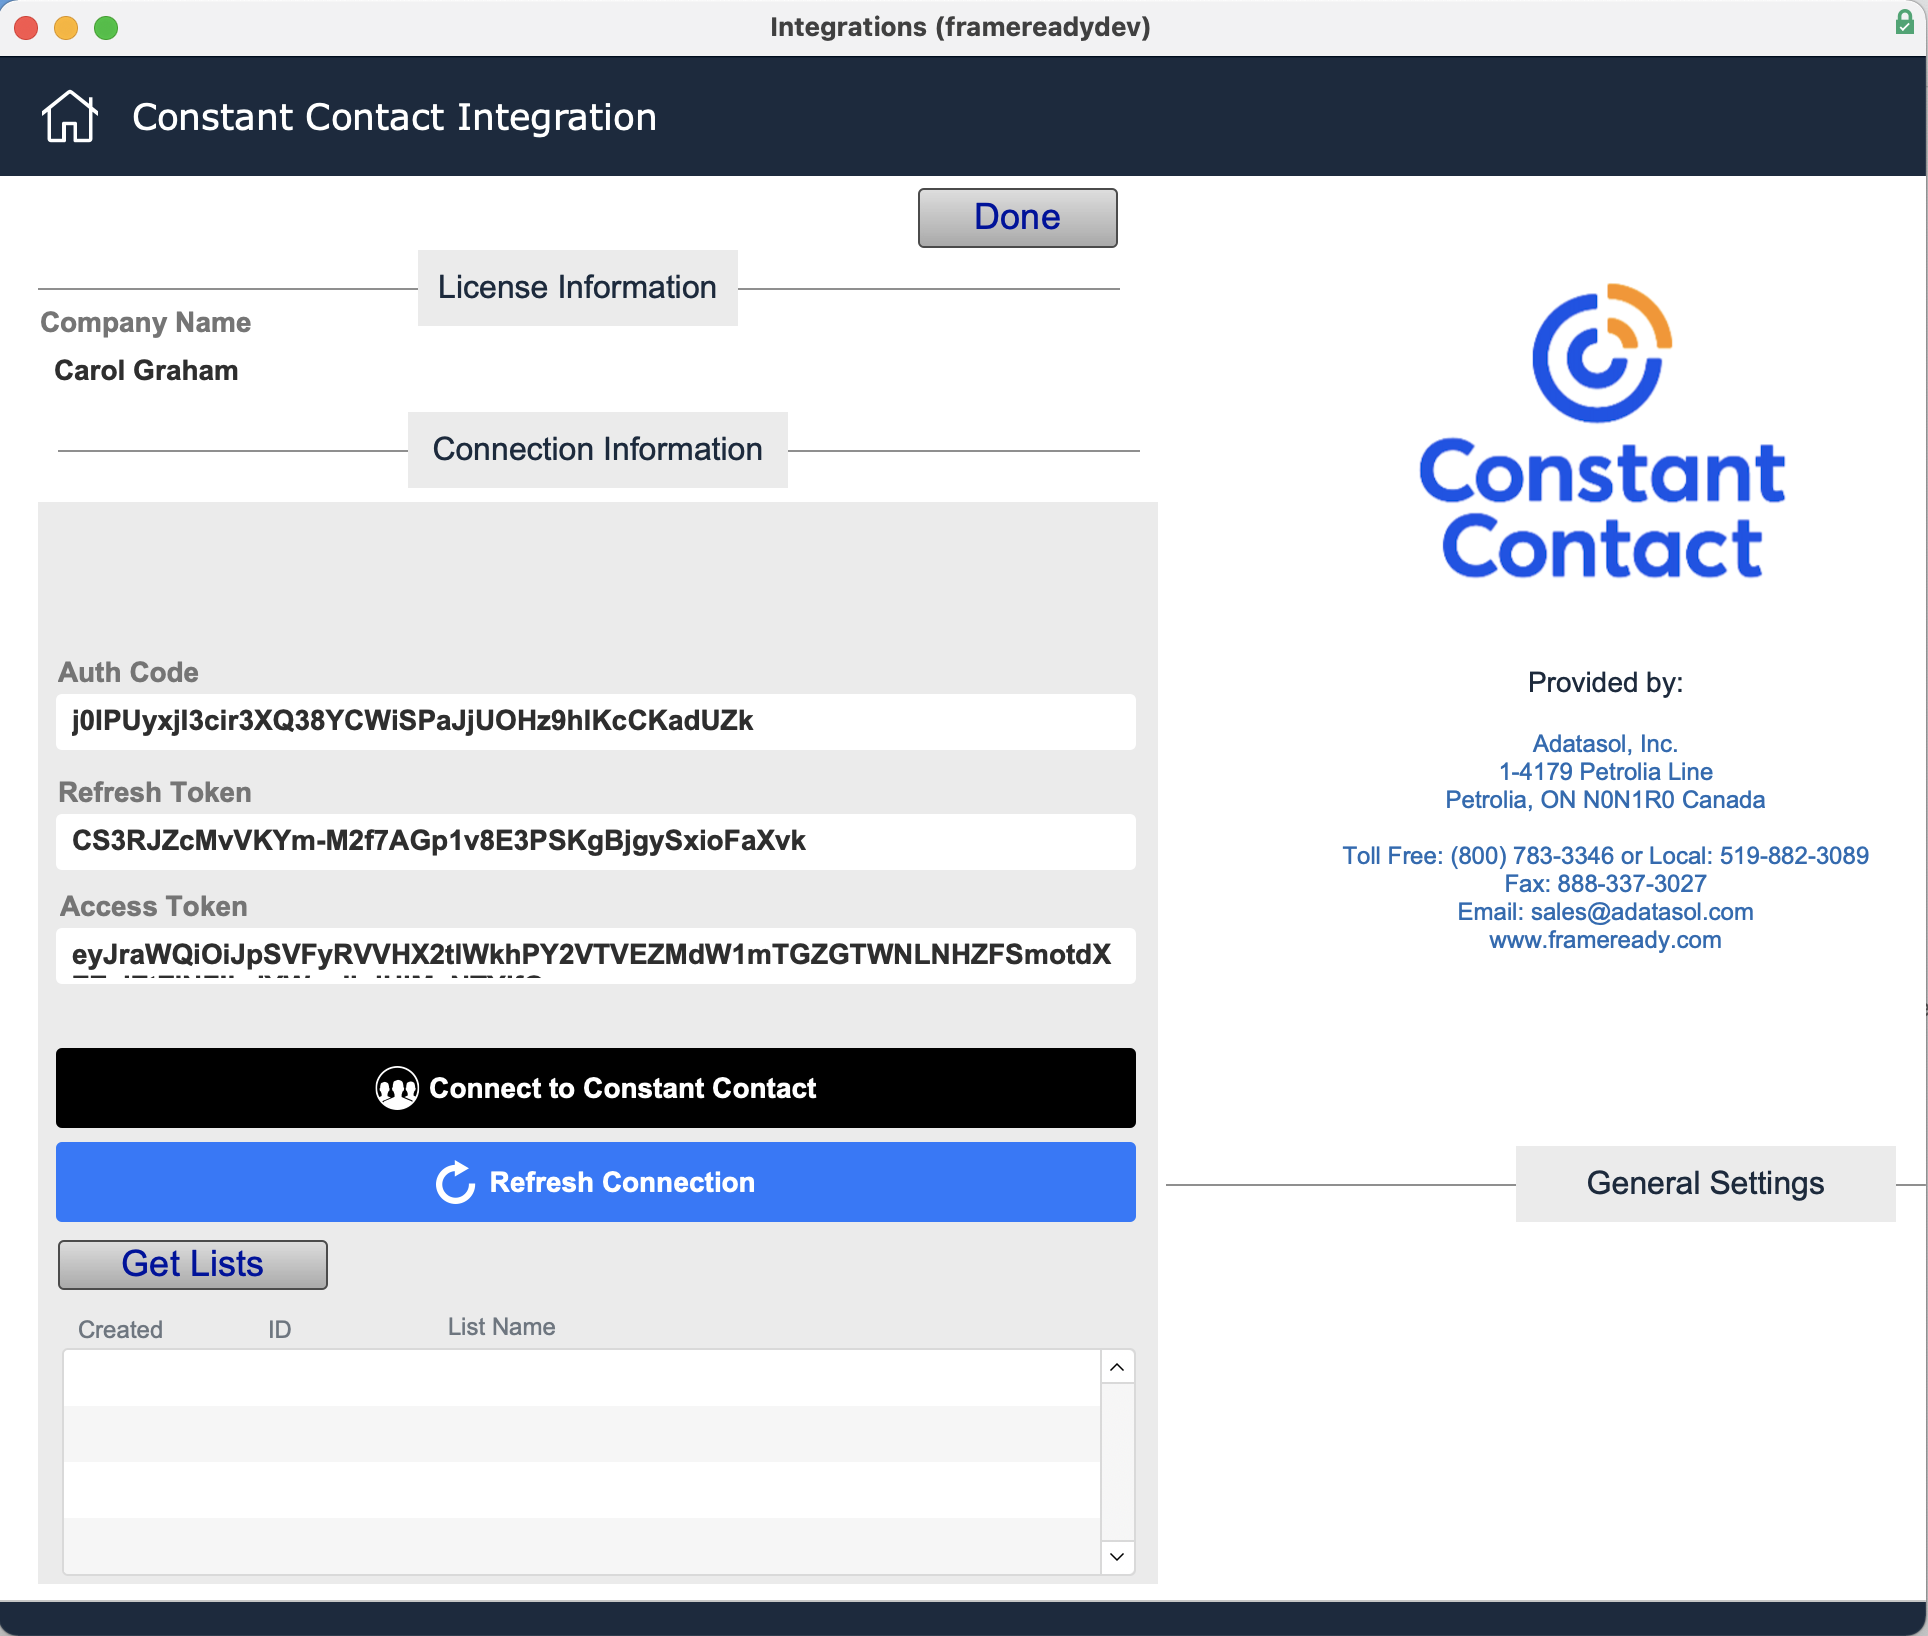
The Constant Contact Integration Settings opens. You will notice a few new fields: Auth Code, Refresh Token, and Access Token.
These are the key points of information that need to be plugged in to get the Constant Contact Integration set up. Once the information is entered, then we can use the Get Lists button to import Constant Contact list names and get to assigning Contacts.
-
To get the needed information, click the Connect to Constant Contact button.

Connect to your Constant Contact Account
-
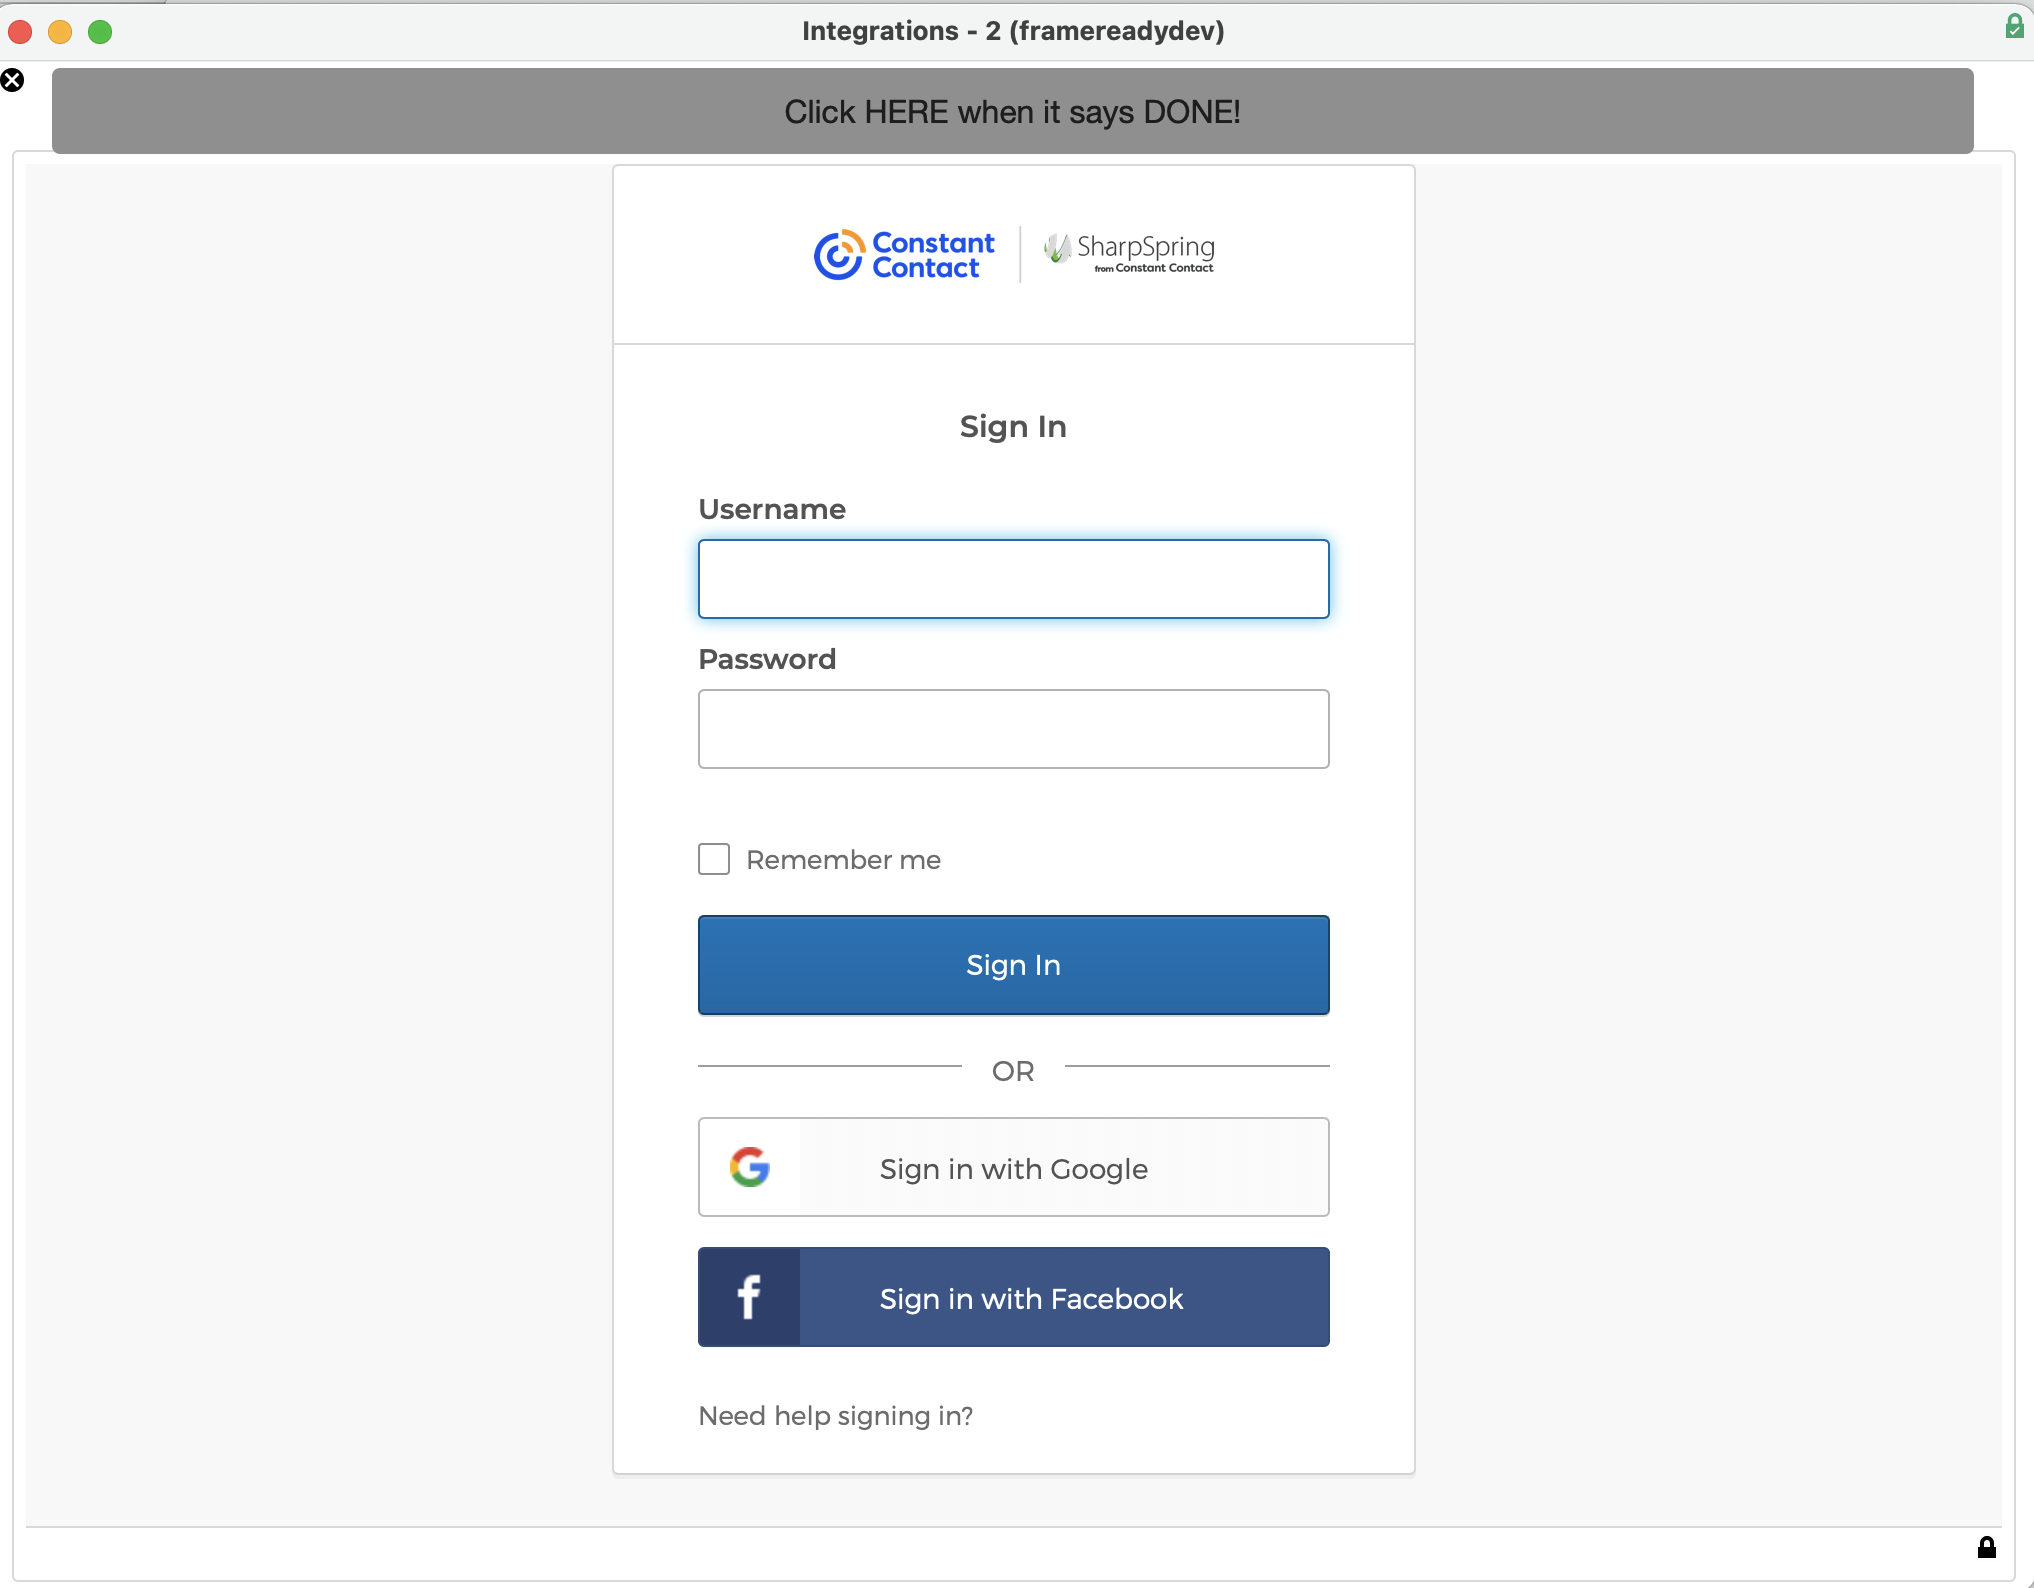
A new popup window appears with the Constant Contact login screen. Log in to your account.
-
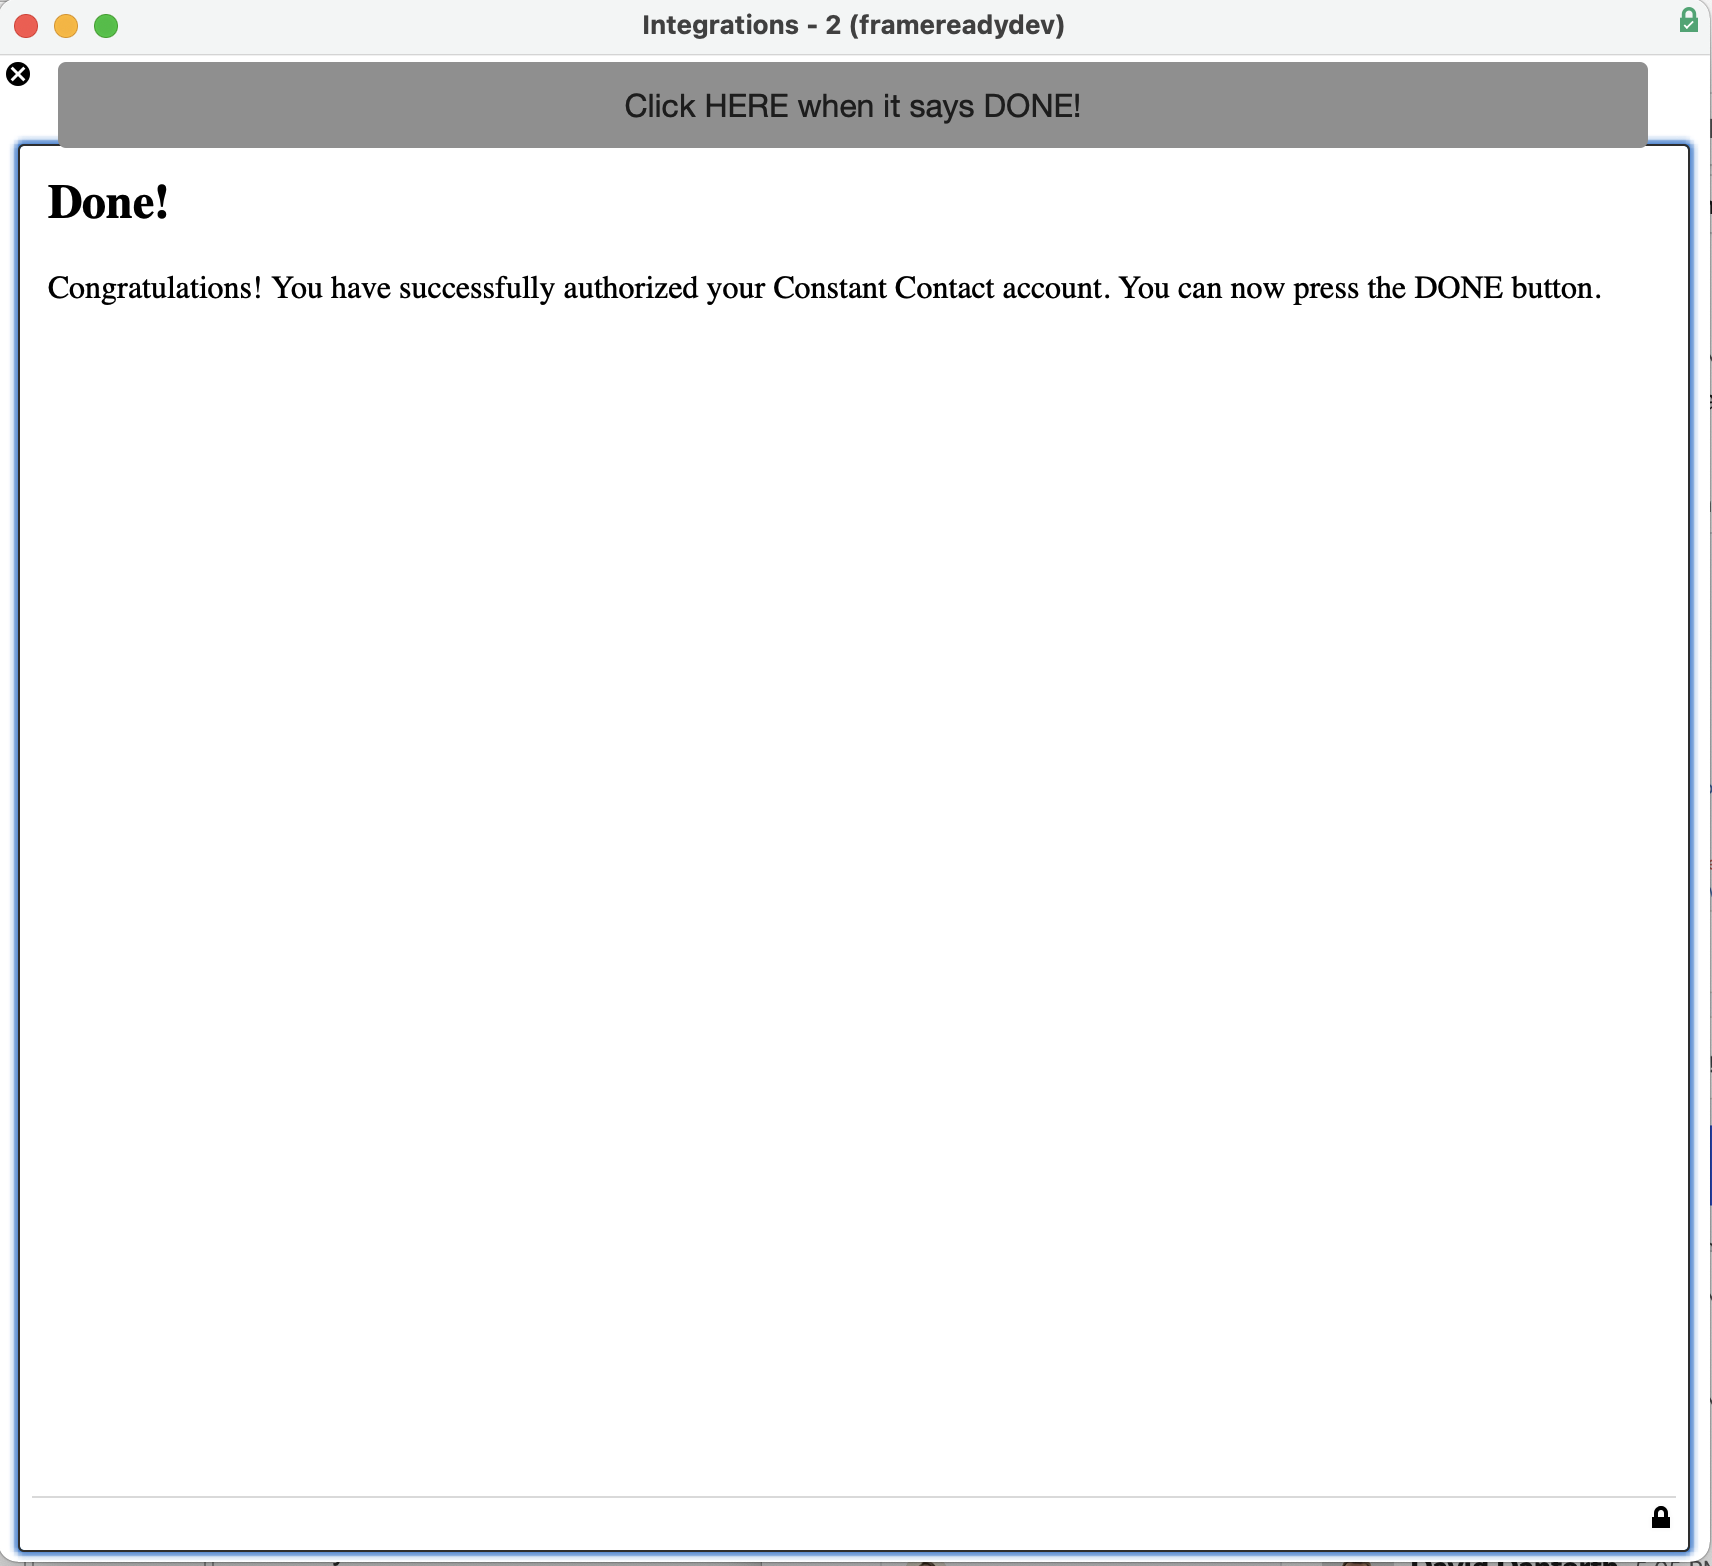
If asked to authorize, click the Accept button. You should see a "Done! You have successfully authorized your Constant Contact account..."
-
Click the grey Click HERE when it says DONE! button (top row) to finish the authorization process and return to the Constant Contact Integrations window in FrameReady.
You will see that all of the set up fields now have data in them; this means you have successfully connected to your Constant Contact account.
Now that you have all of these fields filled in with your information you can move to the next part of setting up the integration which is bringing in your Constant Contact lists into FrameReady so you can assign contacts to them.
See: Constant Contact Import Lists
© 2023 Adatasol, Inc.