Products
Import Retail Items from a Catalog
The Add Products feature offers an easy way to import or update a large number of retail products (readymade frames, giftware, art, etc.).
-
While it is possible to import the records directly into the Products file, the Add Products feature can save time and prevent costly mistakes: it is an intermediary step displaying records in an easy to view list format with the most essential fields visible.
-
Can also be used to update pricing for items that have been previously imported (names must match exactly).
-
Data can come from a supplier's file or one you have created.
How to Prepare your Product Data for Import
-
Supported file formats are .xls (Excel) or .csv (comma separated text files). All major spreadsheet software should support one or both of these formats.
-
The Item Number must have a unique value.
-
If a product has one number, then it must go in the Item Number field.
-
If product data has two numbers, i.e. a barcode and a product number, then the barcode number should go into the UPC field and the product number into the Item Number field.
-
-
Quantity data will not be imported.
-
Mappable fields include:
-
Item Number, UPC, Description, Category, Artist, Retail Price, Wholesale Cost, Vendor ID, Width, Height
-
How to Import using Add Products Button
-
Click the Add Products sidebar button (or Open Catalog in earlier versions).

The following screen appears.

Note: If there is already data on the screen, then don’t worry -- it is there from an previous import and will be over-written by the new import.
-
Click the Import Records button.
-
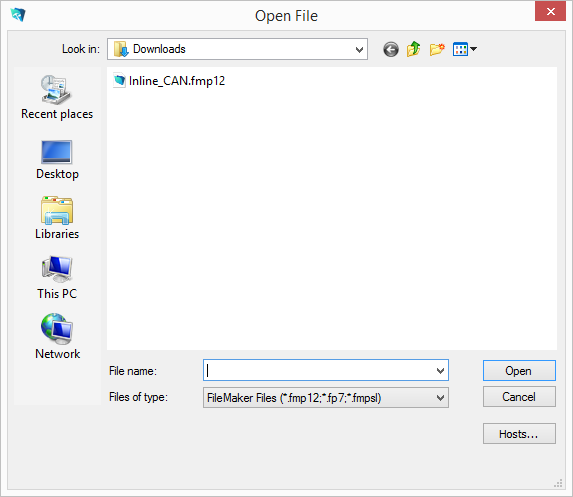
The Open File dialog appears.
You may see a 'deleting records' dialog box appear (as the previous items are removed to make way for the new items to be imported). This is normal. -
Locate the file you wish to import and click Open.
If you do not see your file or cannot select it, then change the selection in the Files of type: drop-down list, to All Files (*.*) -
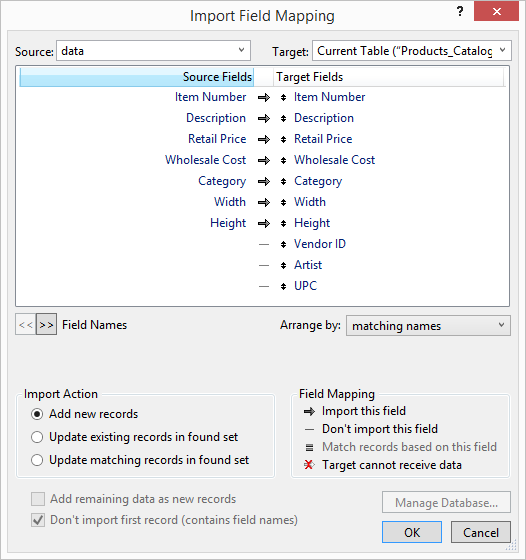
The Import Field Mapping dialog box appears.
-
Line up the fields on the right side of the screen (Target Fields) with the fields on the left side (Source Fields), e.g. match cost with Wholesale Cost or item with Item Number.
Move fields up and down by holding the mouse down on the up-down arrow just to the left of the field name.
There should be an arrow pointing from the source field to the target field. If there is only a dash, then click the dash and it will change to an arrow. Fields connected by a dash will not be imported.
If you are importing an Excel spreadsheet with field names or headings in the first line, then be extra sure to check the Don’t Import First Record box.
Note: The Qty field cannot be imported into the Products file.
-
Once you are satisfied that the fields are lined up correctly, then click the OK button.
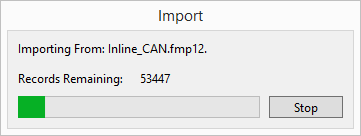
The import may take some time to complete. -
The Import Summary window appears.
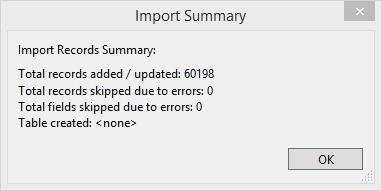
-
Click OK.
All the imported items are displayed. -
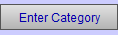
If a category was not provided in the database or you wish to change the category, then click the Enter Category button.
-
Enter the category in the dialog box.
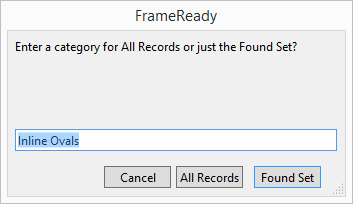
If the category is already in your Products file, then be sure that the name matches exactly or you will accidently create a new category. For example, the term Glassware is different than Glass ware . -
Click All Records or Found Set.
-
If you wish to edit your imported list before exporting it to the Products file, then use the menu commands at the top of the screen, for example, use the Records menu to delete a record, or the View menu to find records, etc.
-
When the list looks the way you want it to, then you are ready to export the records into the Products file. Click the Export to Products button.
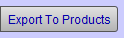
If any information is missing, then you will be shown the affected records. Make any necessary corrections. Click Export to Products again, and all records will be exported and the Products file appears.