Vendor Pricing Updates
Add a New Supplier/Vendor
Add a New Vendor for Pricing Updates
Before You Begin
-
If you do not have an internet connection, please refer to Manual Updates with Vendor Subscription.
-
If your FrameReady membership/ subscription has expired you will be alerted and denied direct access to updating your vendors.
The Vendor Update process is automated but not automatic: you are still required to click the Update Vendor Pricing button, choose a vendor to begin the download, etc.
How to Add a New Vendor for Pricing Updates
To add/subscribe to a new vendor currently not in your Price Codes file but available for download, you need to log into FrameReady with account level2 or higher.
-
Login with account level2 or higher.
-
On the Main Menu, click the Update Vendor Pricing button (lower right).

-
The Vendor Update screen appears and lists the vendors currently installed.

-
Open the appropriate tab (top center) for the country you are purchasing from either: USA, CDN, or Other.
-
Locate the vendor and click the Vendor's name -- but if the Options button is green, then the remaining steps happen automatically.
-
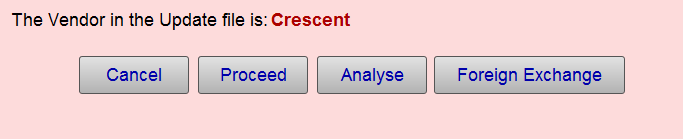
FrameReady downloads and imports the price list to a temporary file. You should now be able to see the first 20-50 records of the price list. Does the vendor provide length, chop, and join pricing? Or just length and a code matrix for chop and join?
-
Click Proceed.
-
FrameReady takes you through the following on-screen prompts:
-
Select your preferred way of ordering: Join, Chop or Length

During this process, FrameReady goes through each record and applies your Default Formula for pricing. -
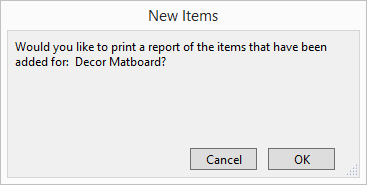
Print Report of items added: Cancel (or OK)
-
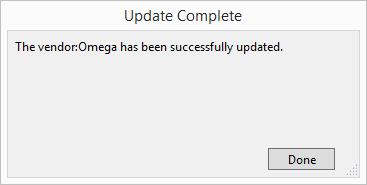
The Vendor has been successfully imported: Done
-
-
Click Done.
Once completed, the screen switches to the Price Codes file (pink background) and displays the imported records. -
See also: Pricing Options for Moulding and Pricing Options for Matboard.
The Vendor Update process is automated but not automatic: you are still required to click the Update Vendor Pricing button, choose a vendor to begin the download, etc.