You can use the work order file to create and price your own readymade frames. Build and label your own readymade frames by using the work order file. Scrap moulding can be turned into your own readymade product using this feature.
Pricing
Access: Work Order file > New Work Order or Main Menu > New Work Order
- Select None as the orientation (if this feature is turned on.)
- Enter the desired frame size in Width and Height.
- Enter moulding, glass and backing (or mounting) options.
Tip: You may wish to modify the markup using the Frame1 field in order to arrive at a more saleable readymade price, override the price using the Lock button, or the Retail price may be modified in the Products screen. - Click Convert/Update side bar button.
A dialog box will appear asking if you are sure you want to change this work order to a product. - Click Convert.
Your readymade frame will now appear as a retail product with its own item number. The work order will be deleted.
Labelling
Use FrameReady to produce a label displaying your logo, description, price and optional bar code.
Access: Products file > Readymade tab
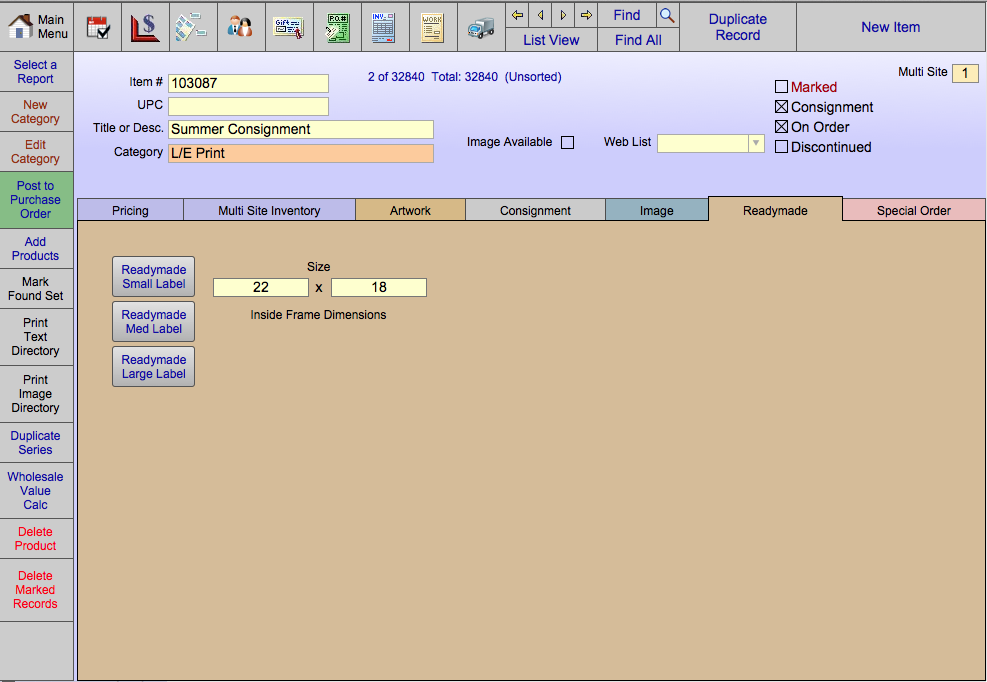
- Enter the Item/UPC number or the Desc/Title information of the piece you were just working on.
- Click Perform Find.
- Print a small, medium or large label to put under the glass of this readymade frame using the buttons Readymade Small, Readymade Med Label or Readymade Large Label.
- Record the quantity in the IN field on the Pricing tab.
Now that you have created this readymade frame record, you may reuse it to create more readymades of the same size and price. Simply find the correct record and print another label and keep track of the quantity on hand by changing the IN field on the Pricing tab. Your readymade will appear in the Products file and can be entered directly onto an invoice either by bar code or item # search.